Custom Metal Container Design: Dividers, Lids and Nesting

Custom metal container design should start with the part, handling route and return condition, then decide whether dividers, a lid, or nesting geometry solves a real process need. The design must be checked in both loaded and empty states; there is no universal container size, stack height or load rating.
Custom metal container design works best when the container is engineered around the part and the process rather than selected from a nominal size. Dividers, lids and nesting features can improve separation, protection and empty-return efficiency, but each feature changes access, cleaning, tare weight, storage and the way the container is handled.
This guide is for project engineers, packaging engineers and warehouse buyers who need a reviewable design brief. It does not assign a universal payload, stack height, dimension or material-performance rating. Those values must come from the part, route, handling equipment and validated project drawing.
Quick answer: what should a custom metal container design define?
Define five things in order: the part envelope and contact points; the loading and unloading sequence; the protection and separation method; the loaded and empty handling condition; and the evidence used to approve the sample. Dividers, lids and nesting are design responses to those inputs, not standalone features.
The MHI packaging overview distinguishes containers, dunnage and pallets by function and notes that reusable containers can use metal, wire mesh, corrugated plastic or HDPE. The Reusable Packaging Association similarly describes reusable transport packaging as a system of pallets, bins, containers and dunnage designed for repeated movement.
Start with the part and the work sequence
Before choosing a lid or divider pattern, freeze the part revision and describe what operators actually do. A box may be loaded by hand, forklift, pallet truck or an automated interface; it may be opened at a line-side station, inspected before shipping, cleaned between cycles or returned empty through a consolidation point.
| Input | Questions to answer | Design consequence |
|---|---|---|
| Part geometry | What are the outer envelope, protrusions, fragile faces and contact points? | Sets internal clearance, dunnage and divider locations. |
| Process sequence | Where is the part loaded, picked, inspected, stored and returned? | Sets opening direction, access height and operator reach. |
| Handling equipment | Will the container be lifted, pushed, towed or moved through a conveyor interface? | Sets fork pockets, casters, tow points and base geometry. |
| Environment | Is it indoor, outdoor, humid, dusty, oily or repeatedly washed? | Informs finish, drainage, cleaning access and corrosion review. |
| Return condition | How are empty containers stored and sent back? | Determines stack, nest, fold or removable-panel requirements. |
Container dividers: protect the contact points
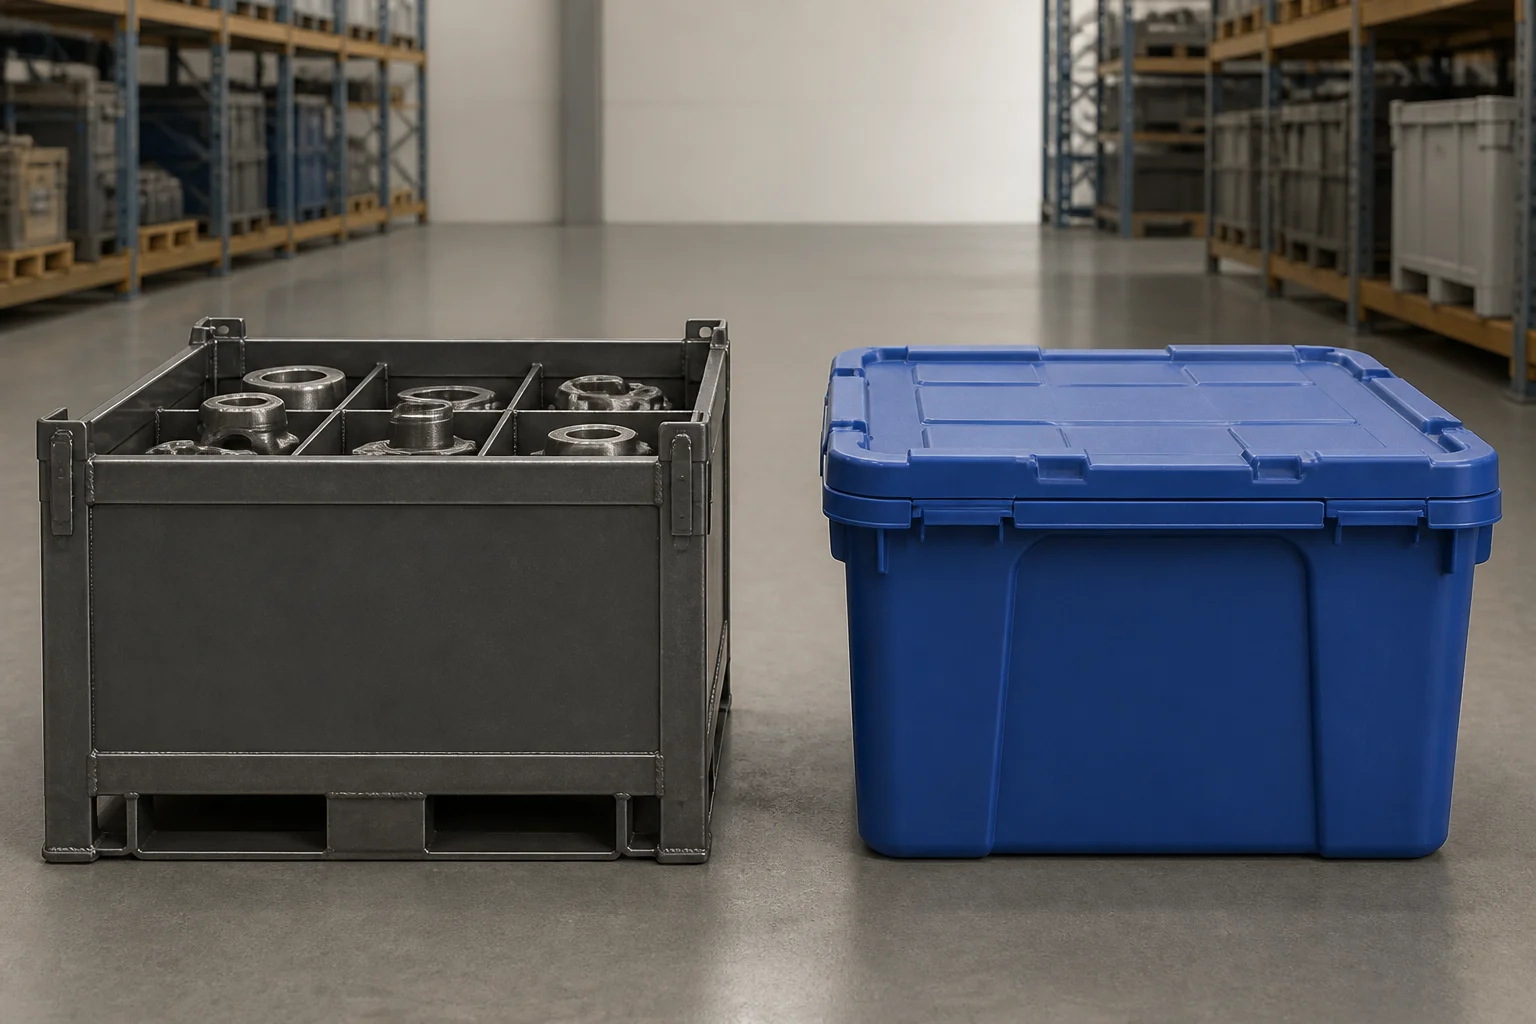
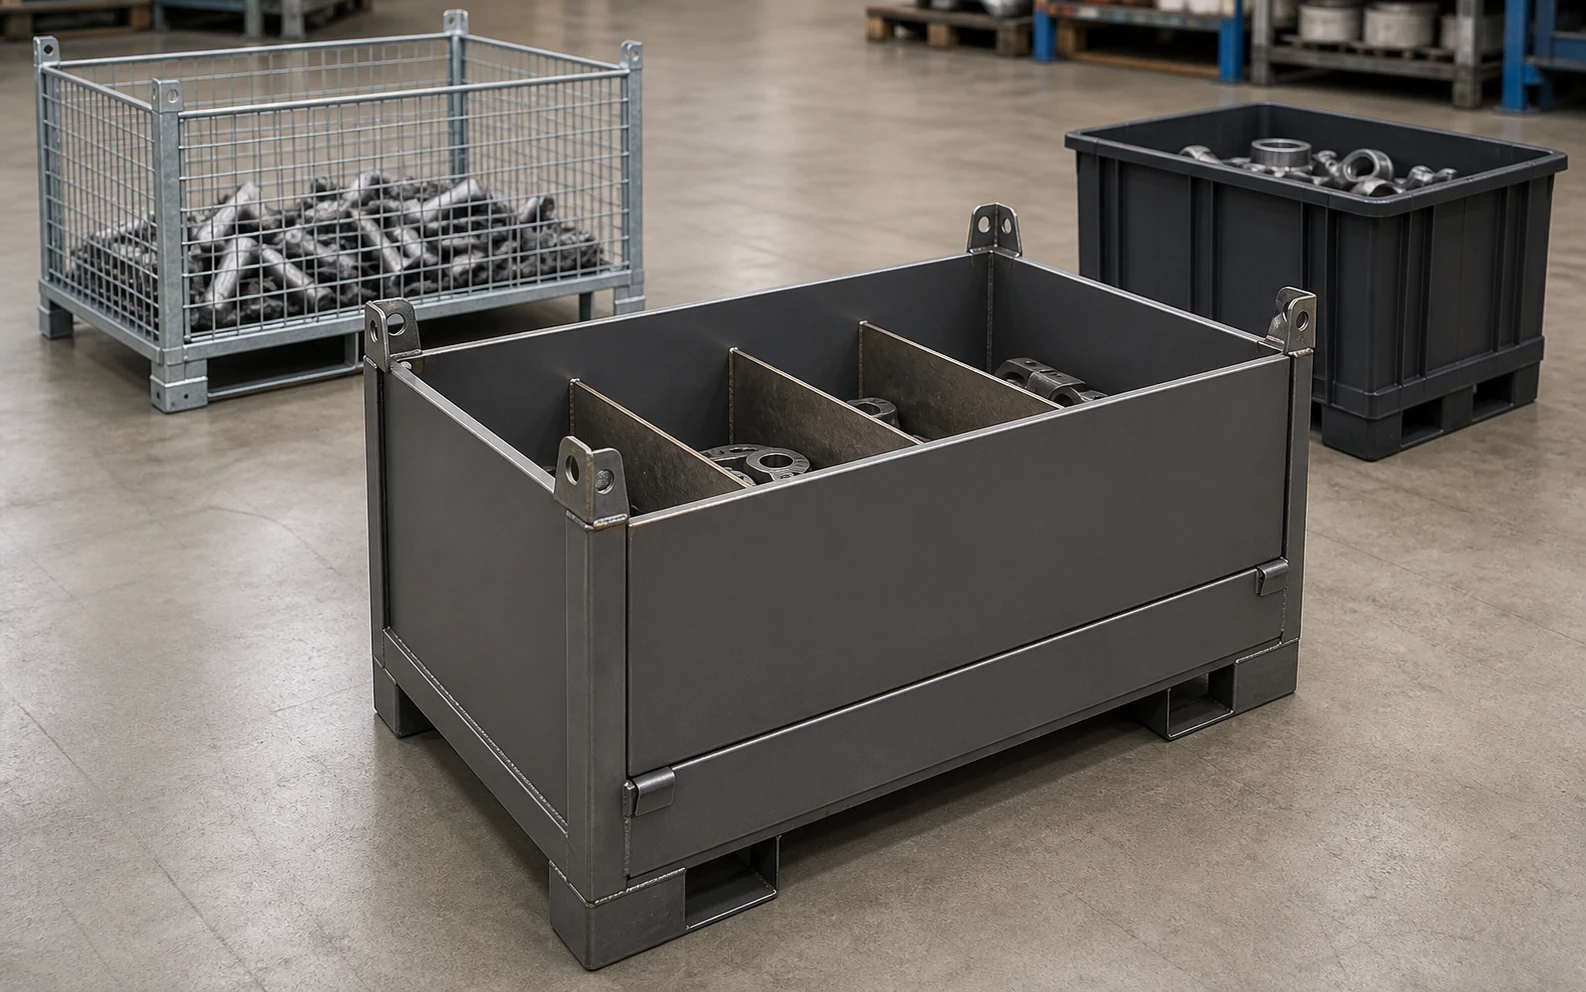
Container dividers separate parts, stop uncontrolled contact and make the loading pattern repeatable. They can be fixed, removable, hinged, slotted or combined with rubber, plastic, foam or fabric dunnage. The correct option depends on whether the buyer values rapid cleaning, flexible part mix, maximum part count, visual inspection or a fixed presentation position.
Do not place a divider simply because the container looks empty without one. Start by marking where the part may touch steel, where a surface must remain clear, and where an operator needs hand or tool access. The RPA dunnage guide explains that dunnage fills voids and helps prevent shifting and impact; in a custom container, it should be treated as a replaceable, reviewable part of the protection system.
| Decision | When it matters | What to validate |
|---|---|---|
| Fixed or removable | One stable part mix versus several revisions or return-loop uses. | Removal force, storage location and mistake-proofing. |
| Rigid or padded | Defined location versus sensitive or cosmetic contact. | Contact pressure, wear and replacement method. |
| Full-height or partial | Complete separation versus faster top access. | Part retention, visibility and operator reach. |
| Open or closed cell | Inspection and ventilation versus containment. | Snag points, debris access and cleaning route. |
Metal container lid design: protection versus access
Metal container lid design should answer what the lid protects against and when it must be opened. A lid can shield the contents during storage or transport, but it can also add a lift step, block visual inspection, change the centre of gravity during opening or interfere with stacking and forklift clearance.
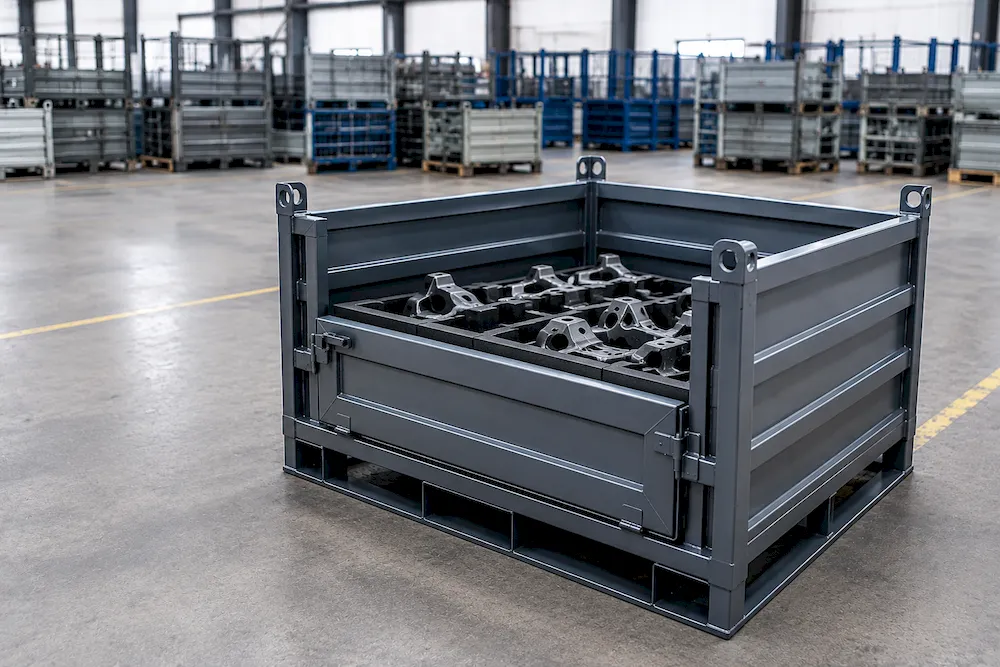
Possible arrangements include a loose lid, hinged lid, split lid, removable cover or a lid combined with a drop door. MHI notes that reusable containers may use attached or separate lids and may include access doors or covers; the practical choice is the one that matches the real work sequence, not the most complicated option.
- Record whether the lid is opened at every cycle or only during transport.
- Show the open position and the space it occupies.
- Specify latch status, pinch-point review and how an open lid is retained.
- Confirm that the lid does not block labels, inspection or forklift entry.
- Use the loaded sample to verify that the lid protects without creating a new handling hazard.
Nesting metal containers: plan the empty state
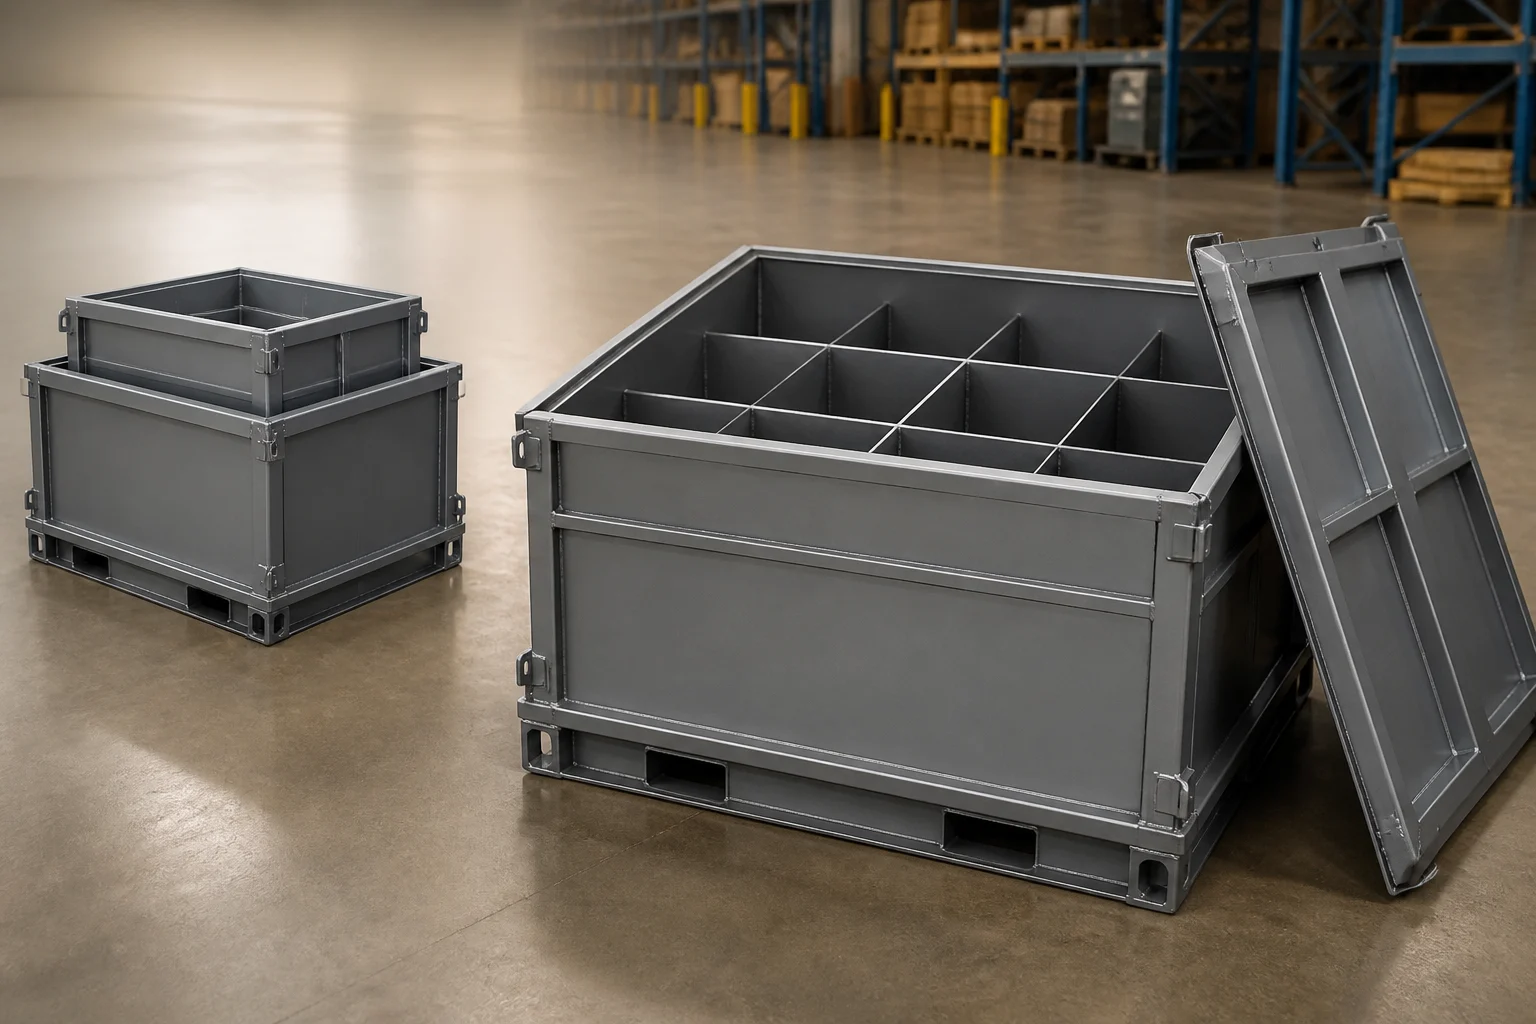
Nesting metal containers use a smaller base footprint or a compatible geometry so empty units fit inside one another. Nesting is valuable only if the empty units can be collected, separated and returned without damaging the container or the dunnage. Loaded stackability and empty nesting are different design conditions and should not be described as the same capability.
Check the nesting direction, clearance, divider removal, lid storage and label visibility. If the internal dividers remain installed, they may prevent nesting or create a snag point. If the dividers are removed, document where they are stored and how the empty container is protected. The MHI overview describes nestable containers as having geometry that permits empty units to fit inside one another; it also separates that function from the role of pallets as load-bearing platforms.
Five-step custom metal container design process
- Freeze the part brief. Record drawing revision, dimensions, weight, contact points, surface restrictions and quantity per container.
- Map the working route. Show loading, unloading, storage, transport, cleaning, inspection and empty return.
- Choose separation and access. Decide whether dividers, dunnage, a lid, door or open face solves the actual process requirement.
- Design loaded and empty conditions. Check handling interfaces, nesting or stacking, lid storage, labels and facility clearances in both states.
- Validate a real sample. Load the real part, use the intended equipment and record drawing changes before production release.
Common mistakes in custom metal container design
- Starting from an advertised nominal size instead of the part envelope and protection zones.
- Adding fixed dividers that reduce access or cannot accommodate an approved part revision.
- Choosing a lid without checking the open position, latch, inspection and operator reach.
- Assuming empty nesting proves loaded stackability or a safe handling condition.
- Quoting a generic load, stack or finish claim without the actual part, route and validation method.
- Forgetting where removable dividers, lids or accessories go during the empty return.
Send a design-ready brief
For a custom container quotation, send the part drawing or clear photos, quantity per container, contact points, handling equipment, route, empty-return requirement, environment and target documentation. The custom metal containers page is the relevant product path. Pair this article with what a metal turnover box is, compare the material decision in metal containers or plastic bins, and review stillage, pallet and wire-container differences before fixing the specification.
Next step: ask the supplier to return a marked-up drawing showing divider locations, lid movement, loaded handling interfaces and the empty nesting or return condition. That makes the design review concrete before production.
Frequently Asked Questions
- What should a custom metal container design brief include?
- Include the part drawing or photos, dimensions, weight, contact points, quantity per container, loading sequence, handling equipment, environment, empty-return condition and the sample or inspection evidence required. Dividers, lids and nesting should be chosen from those inputs rather than from a generic catalogue size.
- When should a metal container use dividers?
- Use dividers when the part needs repeatable separation, defined contact points or protection from movement and contact. Decide whether they should be fixed or removable, padded or rigid, and full-height or partial after checking access, cleaning, part revisions and the actual loading sequence.
- What should metal container lid design consider?
- Review what the lid protects against, how often it opens, its open position, latch and pinch-point controls, inspection access, label visibility and compatibility with stacking or forklift handling. A lid should solve a defined protection or process need without creating an extra handling problem.
- Are nesting metal containers automatically stackable when loaded?
- No. Empty nesting and loaded stacking are different conditions. A nesting design must be checked for empty separation, divider and lid storage, while loaded stacking requires its own structure, handling and validation review for the actual part and route.
- How do I validate a custom container before production?
- Load the real part into a representative sample, run the intended loading, unloading, movement, storage and empty-return sequence, then record fit, access, protection and drawing changes. Release production only after the responsible engineering and procurement reviewers approve the defined evidence.