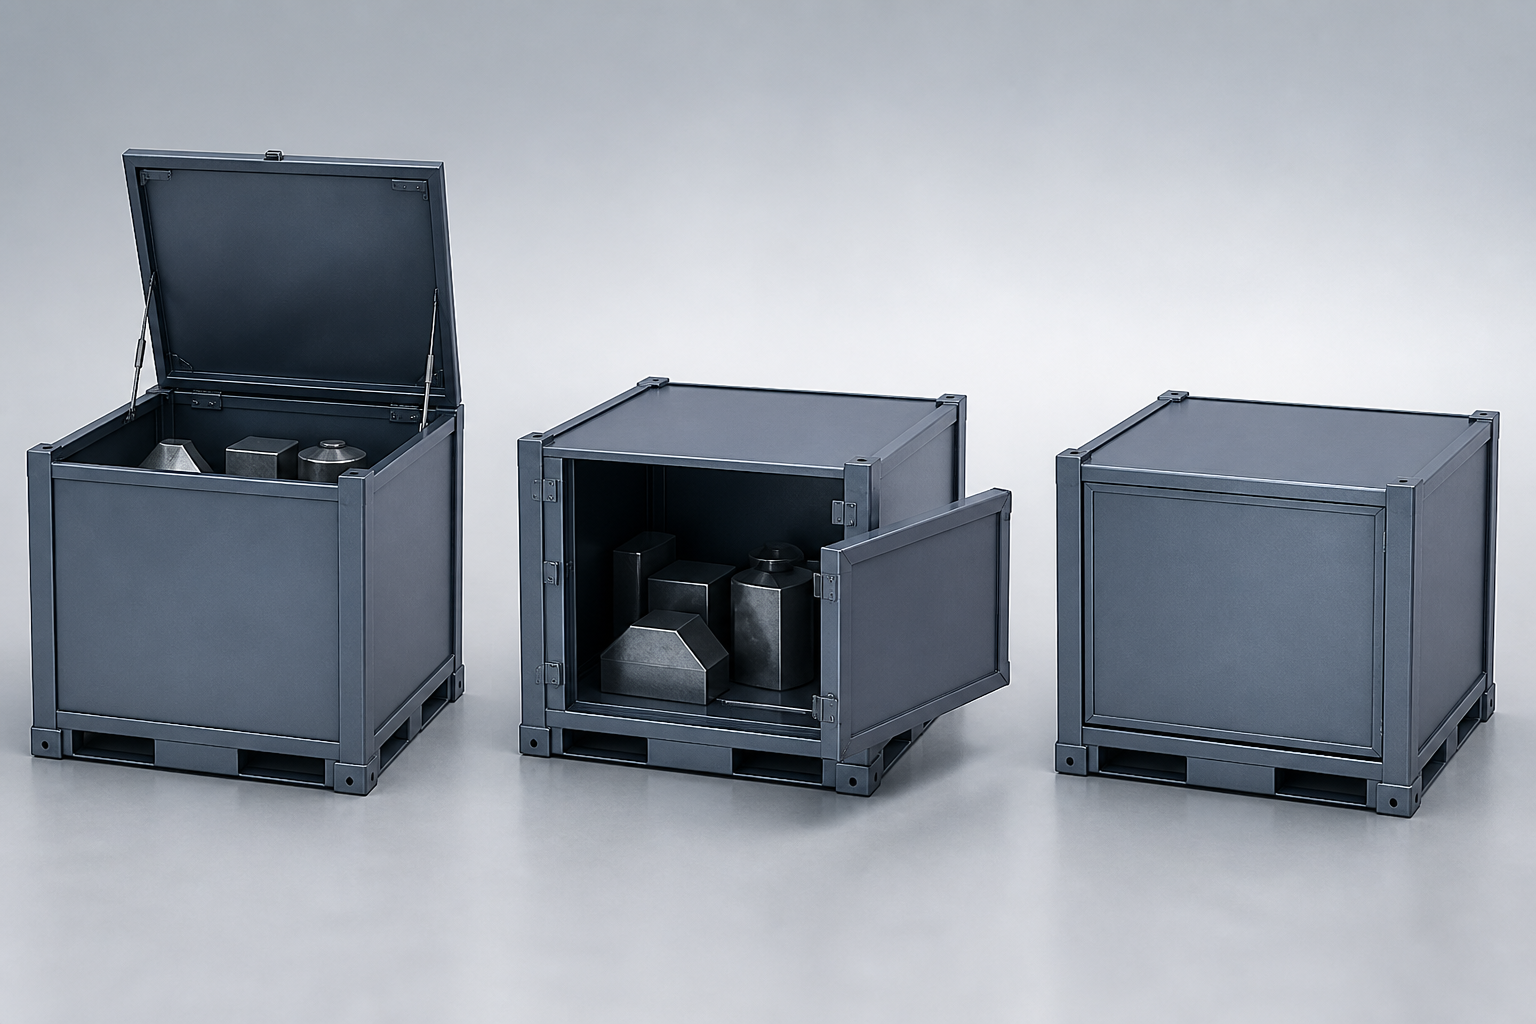
Custom Metal Container Dimensions: Specify the Space Parts Can Actually Use

Give the supplier a maximum outside envelope and a minimum usable interior with the actual accessories fitted. Include the packed part pose, clear space at obstructed heights, support elevation, closed lid and separate loading opening. Decide which envelope can change before comparing container proposals.
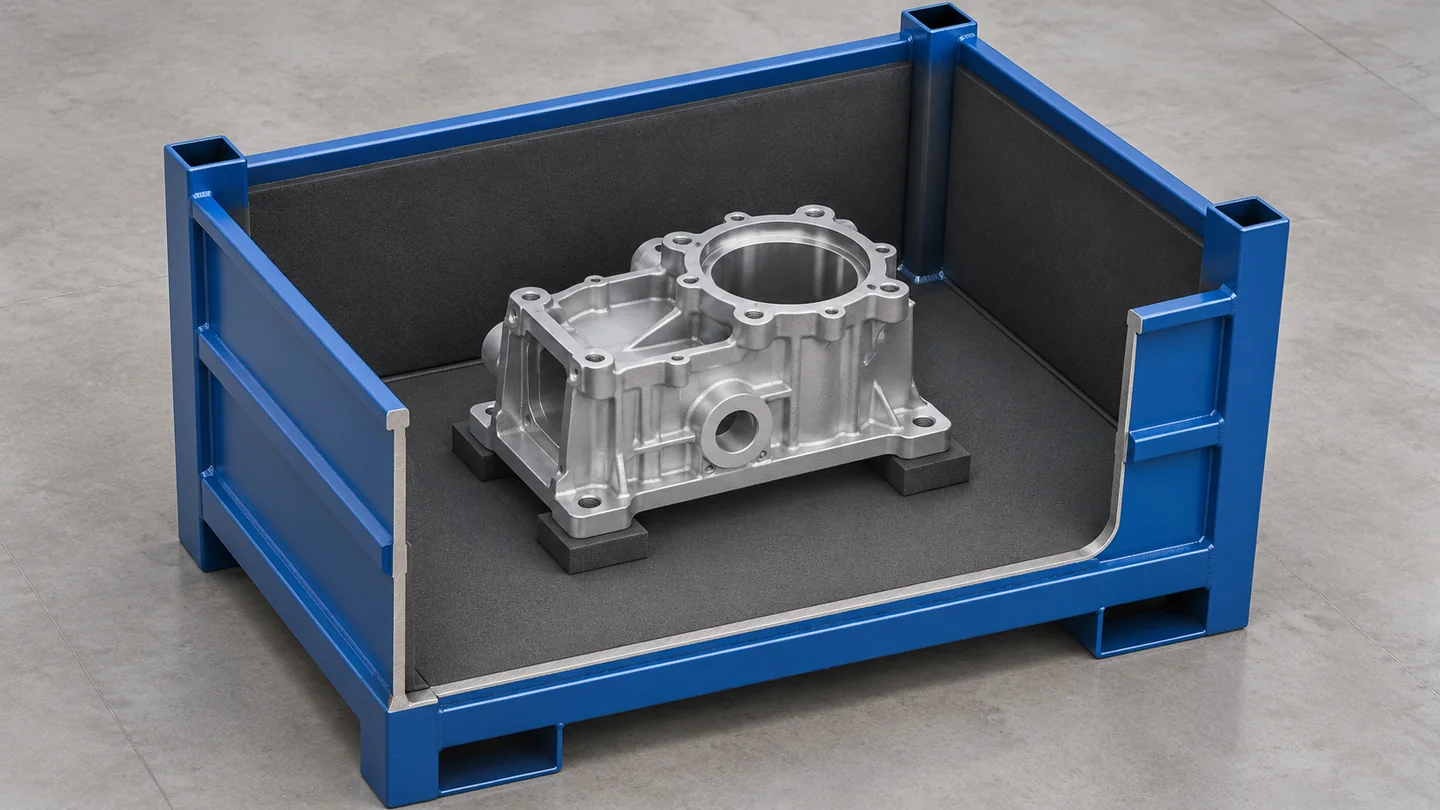
Specify custom metal container internal dimensions as the minimum usable space with the real liner, supports and accessories installed. Give the supplier a separate maximum outside envelope and the complete packaged part in its working orientation. Check length and width at the most restricted locations, then measure height from the actual support surface to the lowest closed lid or top obstruction. Treat the loading opening as a separate dimension. A matching outside size, or a matching volume, does not establish that your component fits.
For procurement and packaging engineers comparing custom metal containers and steel turnover boxes, this creates a common quotation basis. It lets you see whether a proposal preserves the required loading space or achieves the requested outer footprint by taking space away from the part.
Start with the part as it will really be packed
Imagine a machined housing that fits easily on a flat drawing of the container floor. In use, it sits on raised contact pads, carries a temporary cap and has a protective layer around one flange. The housing's bare dimensions are now only part of the space requirement. Its working height starts above the floor, and the flange may pass beside a reinforcing rib that the plan view missed.
Send the complete packed outline, including temporary protection and the protrusions that matter. State which way is up and which surface establishes the seating position. For multiple components, show the actual loaded arrangement rather than multiplying one part's volume by the desired quantity. Keep the last part in the loading sequence visible in the layout: it may have less approach space than the first.
Separate the four dimensions that buyers often mix
| Dimension | What to measure | What it helps you decide | Put on the enquiry |
|---|---|---|---|
| Maximum outside envelope | Outermost fitted frame, hinge, handle or retained accessory | Whether the container fits the route and storage position | Length, width and height limits with their source |
| Minimum installed clear space | Free space between the nearest inward features at the relevant height | Whether the packed part can occupy its intended position | Clear dimensions after liner, posts, ribs and supports |
| Usable loaded height | Actual support surface to the lowest overhead obstruction | Whether the top feature and protection clear the closed arrangement | Support elevation, lid state and highest packed feature |
| Loading opening | The aperture used to introduce or remove the load | Whether the chosen packed orientation can enter | Opening dimensions and the intended approach |
The distinction appears in real equipment documents. Conquip's stillage user guide separates external dimensions, internal dimensions and internal clear area. That is a useful reason to ask what a dimension line actually measures, rather than treating every supplier's “inside size” as equivalent.
Measure clear width where the component sits
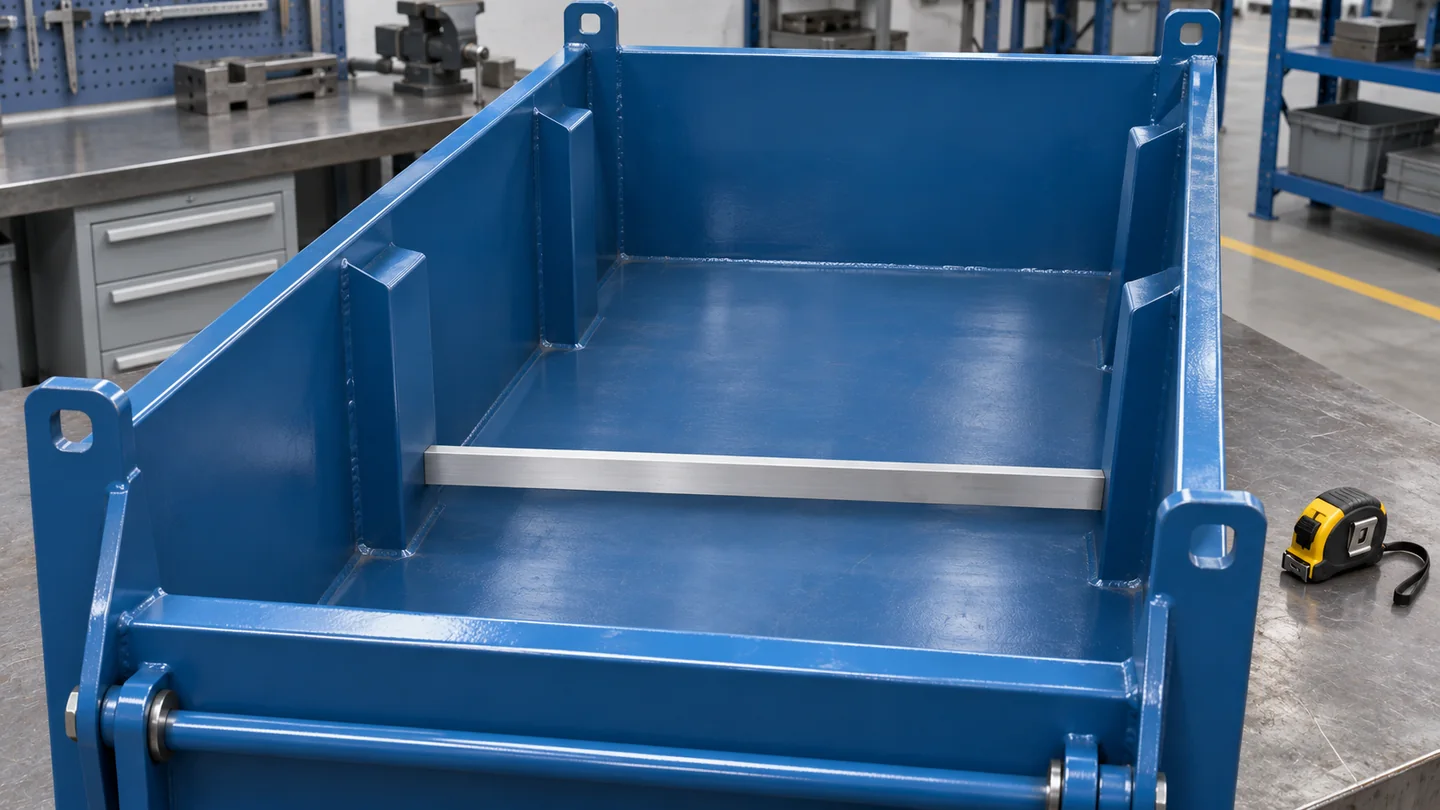
A wide gap across the upper rim can conceal a smaller space near the bottom. Corner posts, ribbed walls, folded edges and fastener heads can interrupt the nominal rectangle. Mark the part's occupied levels on a section view and dimension the restrictions at those levels. If a flange extends into a corner, draw that corner instead of relying on one length and one width measured through the middle.
Keep installed and bare-shell measurements distinct. Kruizinga's steel-bin specification lists internal and external dimensions separately. For a custom lined container, take the next step and identify the liner and attachments included in the internal measurement. A liner fitted later can otherwise consume space that purchasing thought was already available.
Do not solve a tight fit by silently reducing the contact material or moving a support onto a prohibited surface. Ask the supplier to compare the geometry with the contact map. Where the part needs an irregular pocket of space, a sectioned outline can be more useful than an oversized rectangular clearance requirement that increases the entire container unnecessarily.
Choose which envelope is allowed to change
Route footprint is fixed. Send the supplier: Minimum installed space.
Part envelope is fixed. Send the supplier: Permitted outer limits.
Part may be reoriented. Send the supplier: Approved contact map.
Keep the outer footprint fixed when an established storage bay, vehicle layout or handling interface imposes it. Ask for a proposal showing the minimum remaining clear space. If that proposal cannot accept the packed part, the next decision is an internal arrangement or approved part-pose change; simply repeating the original outside dimensions will not resolve the conflict.
Keep the required interior fixed when the component, packaging and permitted seating position cannot change. Let the supplier propose an outside envelope and check it against the actual route. This is useful when buyers have selected a catalogue footprint prematurely but the site still has room for a different size.
Compare another orientation only if the part and handling process allow it. Turning a component can move a high flange away from a rib, but can also change the support contacts or removal motion. Show the new pose with its supports and packed outline; do not approve it solely because the bounding rectangle becomes smaller.
Check the lid and raised supports together
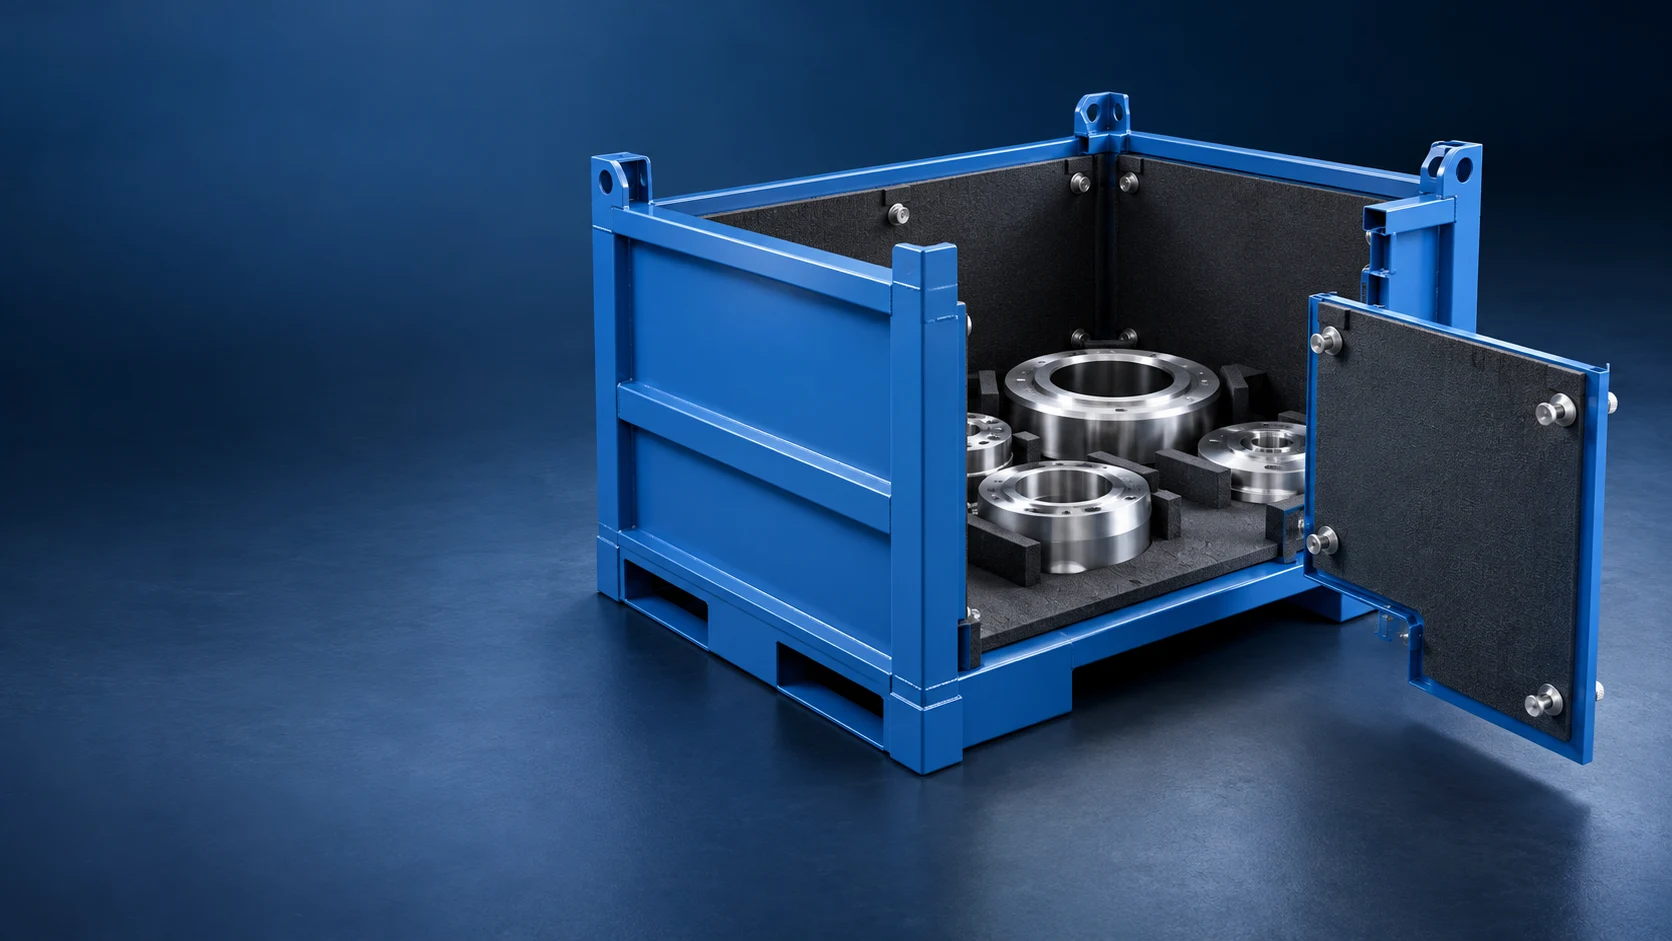
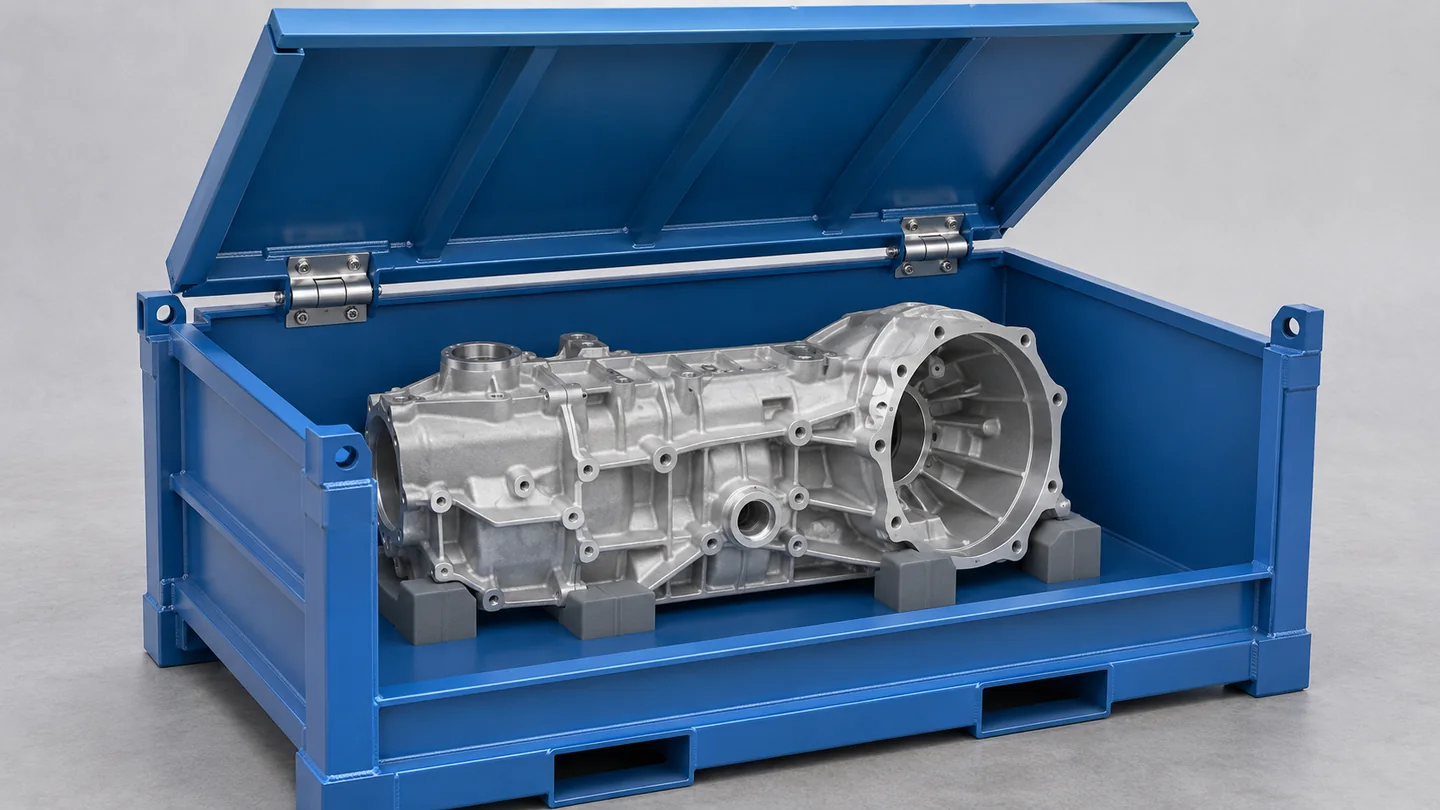
Usable height begins where the part actually rests. A false floor, removable tray or raised pads lift the component above the shell bottom. Lid ribs, retaining features and inward hardware can then reduce the available height from above. Show the closed configuration in a side section, including the highest protected feature rather than only the metal casting.
Also identify the state used for loading. A part may fit when a lid is removed yet conflict when the lid is closed for transport. Conversely, adding height above the part may not help it pass through the selected opening. Use the container door and panel guide for the opening choice; keep this sizing schedule focused on the space left in the installed configuration.
Do not use volume as a fit test
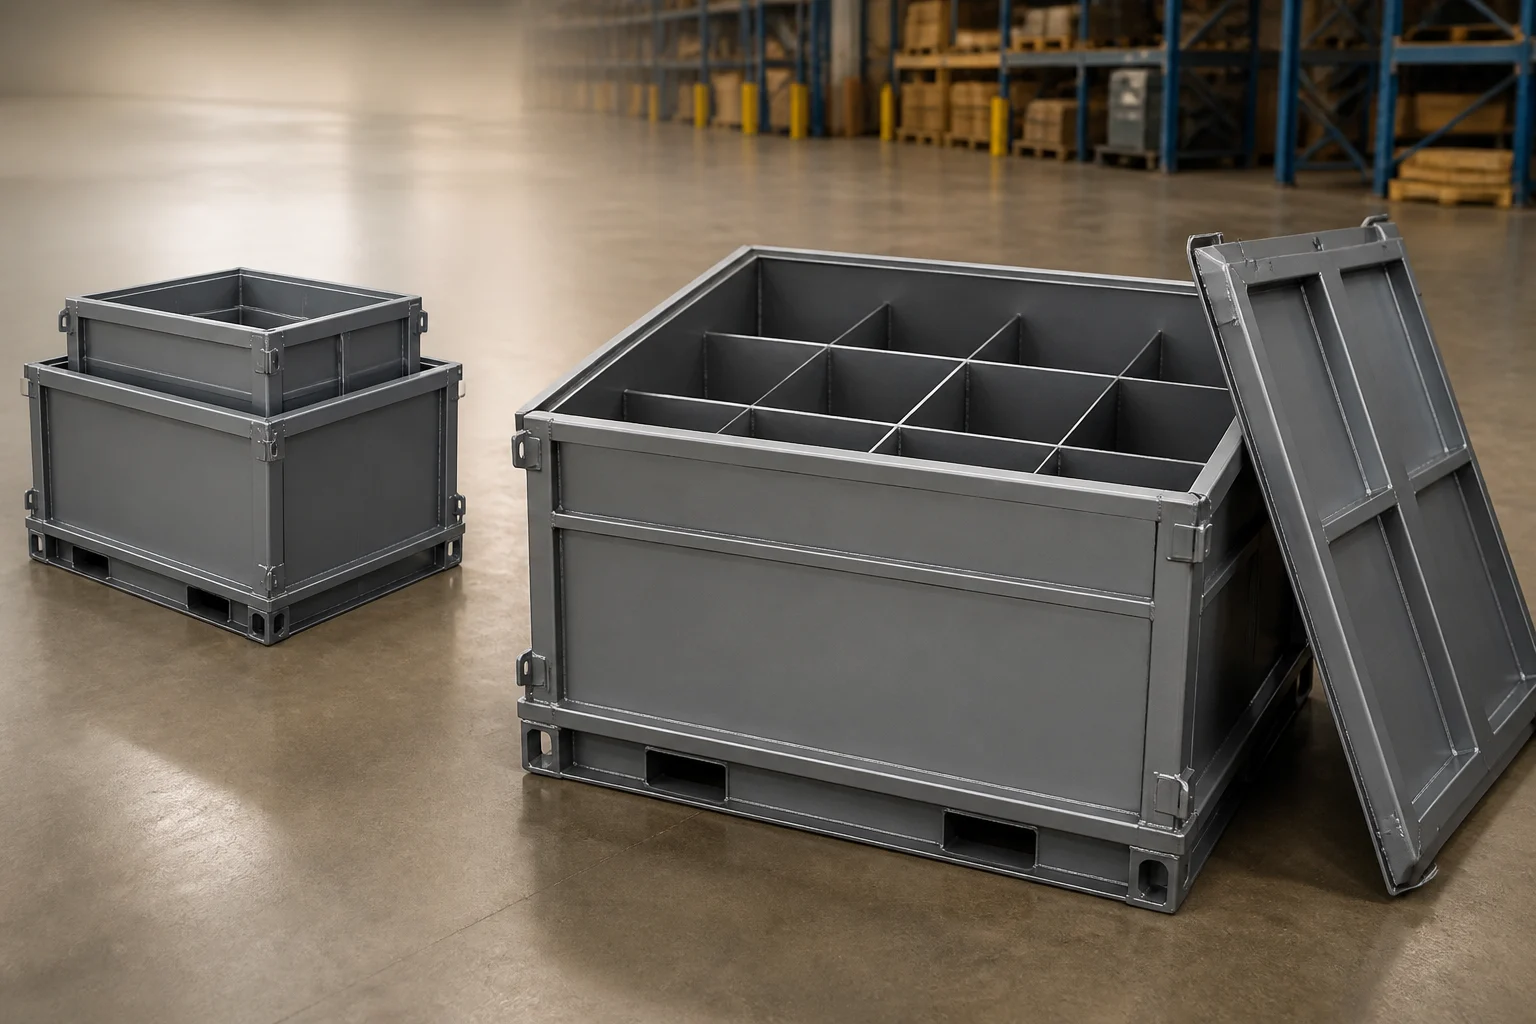
A large total volume can still contain a narrow corner, a low overhead rib or a support that occupies the exact place a component needs. Volume is useful for describing a container category; shaped-part fit needs geometry. Give the supplier the part envelope and identify the local spaces that must remain clear.
Steel King's rigid-container range illustrates how wall, base and handling choices vary within fabricated container designs. Those choices are another reason to compare dimensioned configurations rather than only a size label. HAOFU's custom container proposal should likewise show the selected structure and the installed loading space on the same drawing.
Include packaging before requesting the quote
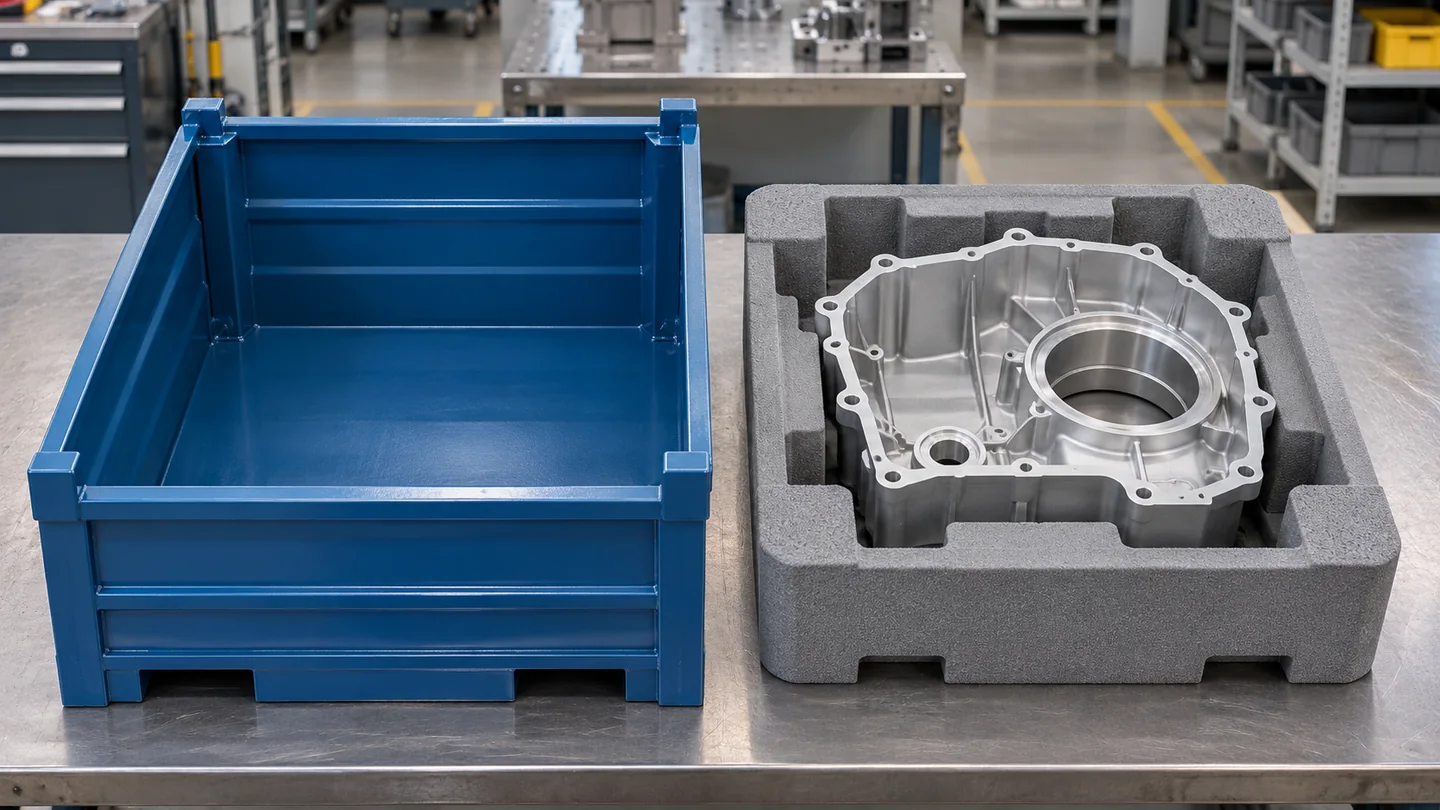
List the items that travel inside with the part: liners, trays, temporary caps, separators and protective wrapping where applicable. Identify which remain fixed and which leave with the component. For removable protection, show the installed state for fit and the separate service route when replacement matters. The liner replacement guide covers access to attachments and changeout.
A practical request says “preserve this clear area with these accessories installed,” alongside the maximum outside limits. Ask the quotation to identify the included liner and support set. That makes later drawing comparisons easier when one supplier offers a bare shell and another includes the contact arrangement your part requires.
Five steps to a comparable dimensional proposal
- Fix the part's packed pose. Send the part drawing or photo with its intended orientation, packaging, supports and highest protrusion. Separate the bare component from the complete loaded envelope.
- Mark the outer limit. Draw the maximum permitted outside length, width and height, and identify the truck, storage position or handling route imposing that limit.
- Specify installed clear space. Show minimum usable length and width at the floor and at every obstructed height, after liners, corner posts, ribs, fasteners and supports are fitted.
- Check height and entry separately. Measure usable height from the actual part-support surface to the lowest closed lid or top obstruction. Add the separate opening and handling path.
- Compare the same drawing state. Ask each supplier to return the outer envelope, minimum installed clearance, part pose and accessory state on one dimensioned drawing before approving the layout.
- Can the packed part fit the installed clear space?Yes → Check height and opening.No → Can the outside size grow?
- Can the outside size grow?Yes → Request a larger shell.No → Review pose or interior.
Once a layout is proposed, check the smallest specified clear dimension and the most obstructed part position on the sample. Include the closed accessory state and the loading approach used at the site. Agree any required dimensional allowance with the supplier using the actual parts, fabrication and process; a universal gap would conceal those differences.
Turn the dimensions into a custom container enquiry
HAOFU configures welded steel containers from part and handling inputs, with panel, lid, support, liner and base choices appropriate to the proposed layout. Start with a photo and a short explanation of what does not fit. For a more developed quotation, send the part drawing, packed pose, outside limit, minimum clear-space schedule, handling method, quantity and destination. Use the container configuration guide if you also need to compare internal separation or the return arrangement.
Explore custom metal containers
Send a container photo or sizing requirement — a complete engineering pack is optional for your first message.
Frequently Asked Questions
- Are internal dimensions the same as usable container space?
- Not necessarily. Internal dimensions may describe the shell between walls, while posts, ribs, liners, supports or fasteners occupy part of that space. Specify the minimum clear envelope with the actual accessories installed and the part in its intended position.
- Should I specify the outside size or the inside size first?
- State both when both are constrained. Give the supplier the maximum outside envelope imposed by the route and the minimum usable inside envelope needed by the packed part. If they conflict, compare a different outer size, internal arrangement or permitted part orientation.
- Can I calculate inside dimensions by subtracting twice the steel thickness?
- That works only for an ideal flat-walled shell with no other intrusions. A fabricated container may include posts, reinforcing ribs, folded edges, liners and attachments. Use the quoted installed drawing and the smallest relevant clear space instead.
- Where does usable internal height start?
- Start at the surface that actually supports the part, not automatically at the bottom of the shell. Measure to the lowest relevant closed lid rib, retainer or top obstruction, including the packed part's highest feature.
- Does a matching volume mean the part will fit?
- No. Volume does not establish the length, width, local clearances, orientation or entry route for a shaped component. Compare the part and packaging envelope with the actual internal geometry and check the opening separately.
- What is enough to start a custom container sizing enquiry?
- A photo, the part size and a short explanation of the outside limit are enough to start. For a layout quotation, add the drawing, packed orientation, required clear space, fitted accessories, handling route, quantity and destination as available.