Steel Pallet Strapping Channels: Leave Room to Feed, Tension and Remove the Band
Locate steel pallet strapping channels after marking the cargo contacts, deck structure and handling spaces. Check that the band can be fed with the load seated, that the chosen tensioning tool can sit and release, and that the finished band clears forks and receiving supports. Compare a dedicated channel with an engineered open route; a random deck hole is not a substitute. Start an enquiry with a cargo photo and the packing task, then add the detailed interface drawings as they become available.
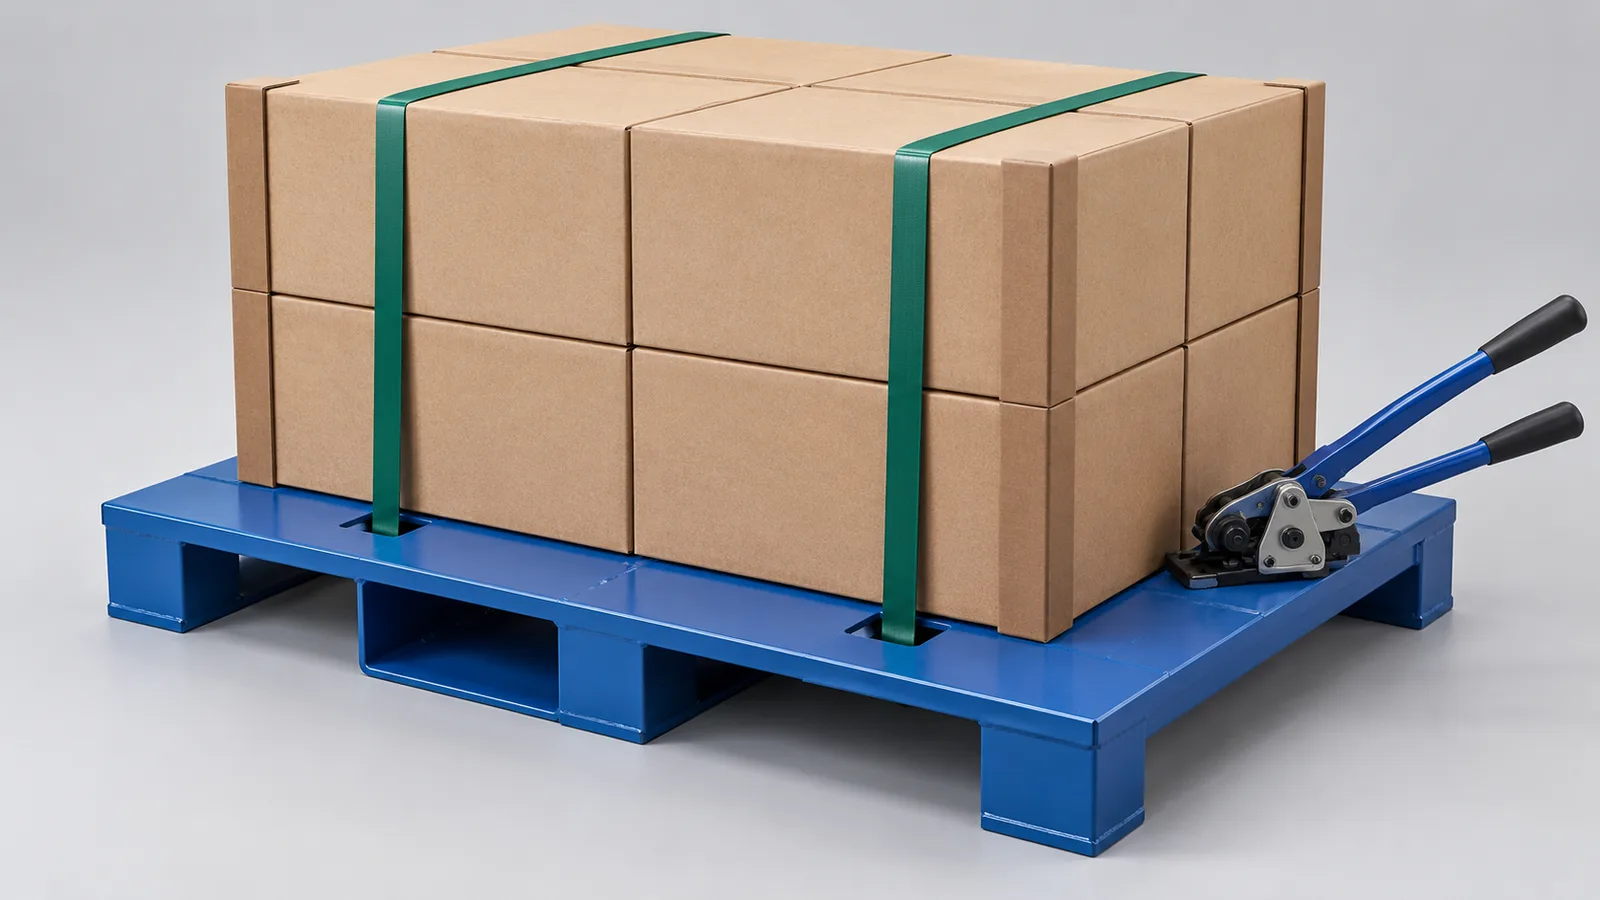
Steel pallet strapping channels should give the band a continuous, accessible route with the cargo already in place. Put that route beside the load contacts and outside the fork and set-down spaces, then reserve a straight, reachable section for the actual tensioning and joining tool. Compare feeding before loading with feeding afterwards, and include band removal at the receiving station. A band that fits through an empty pallet may be trapped under a cargo foot when loaded. This guide helps packaging engineers and buyers choose the physical routing arrangement before ordering a custom pallet.
Start with a packing task that can actually be repeated
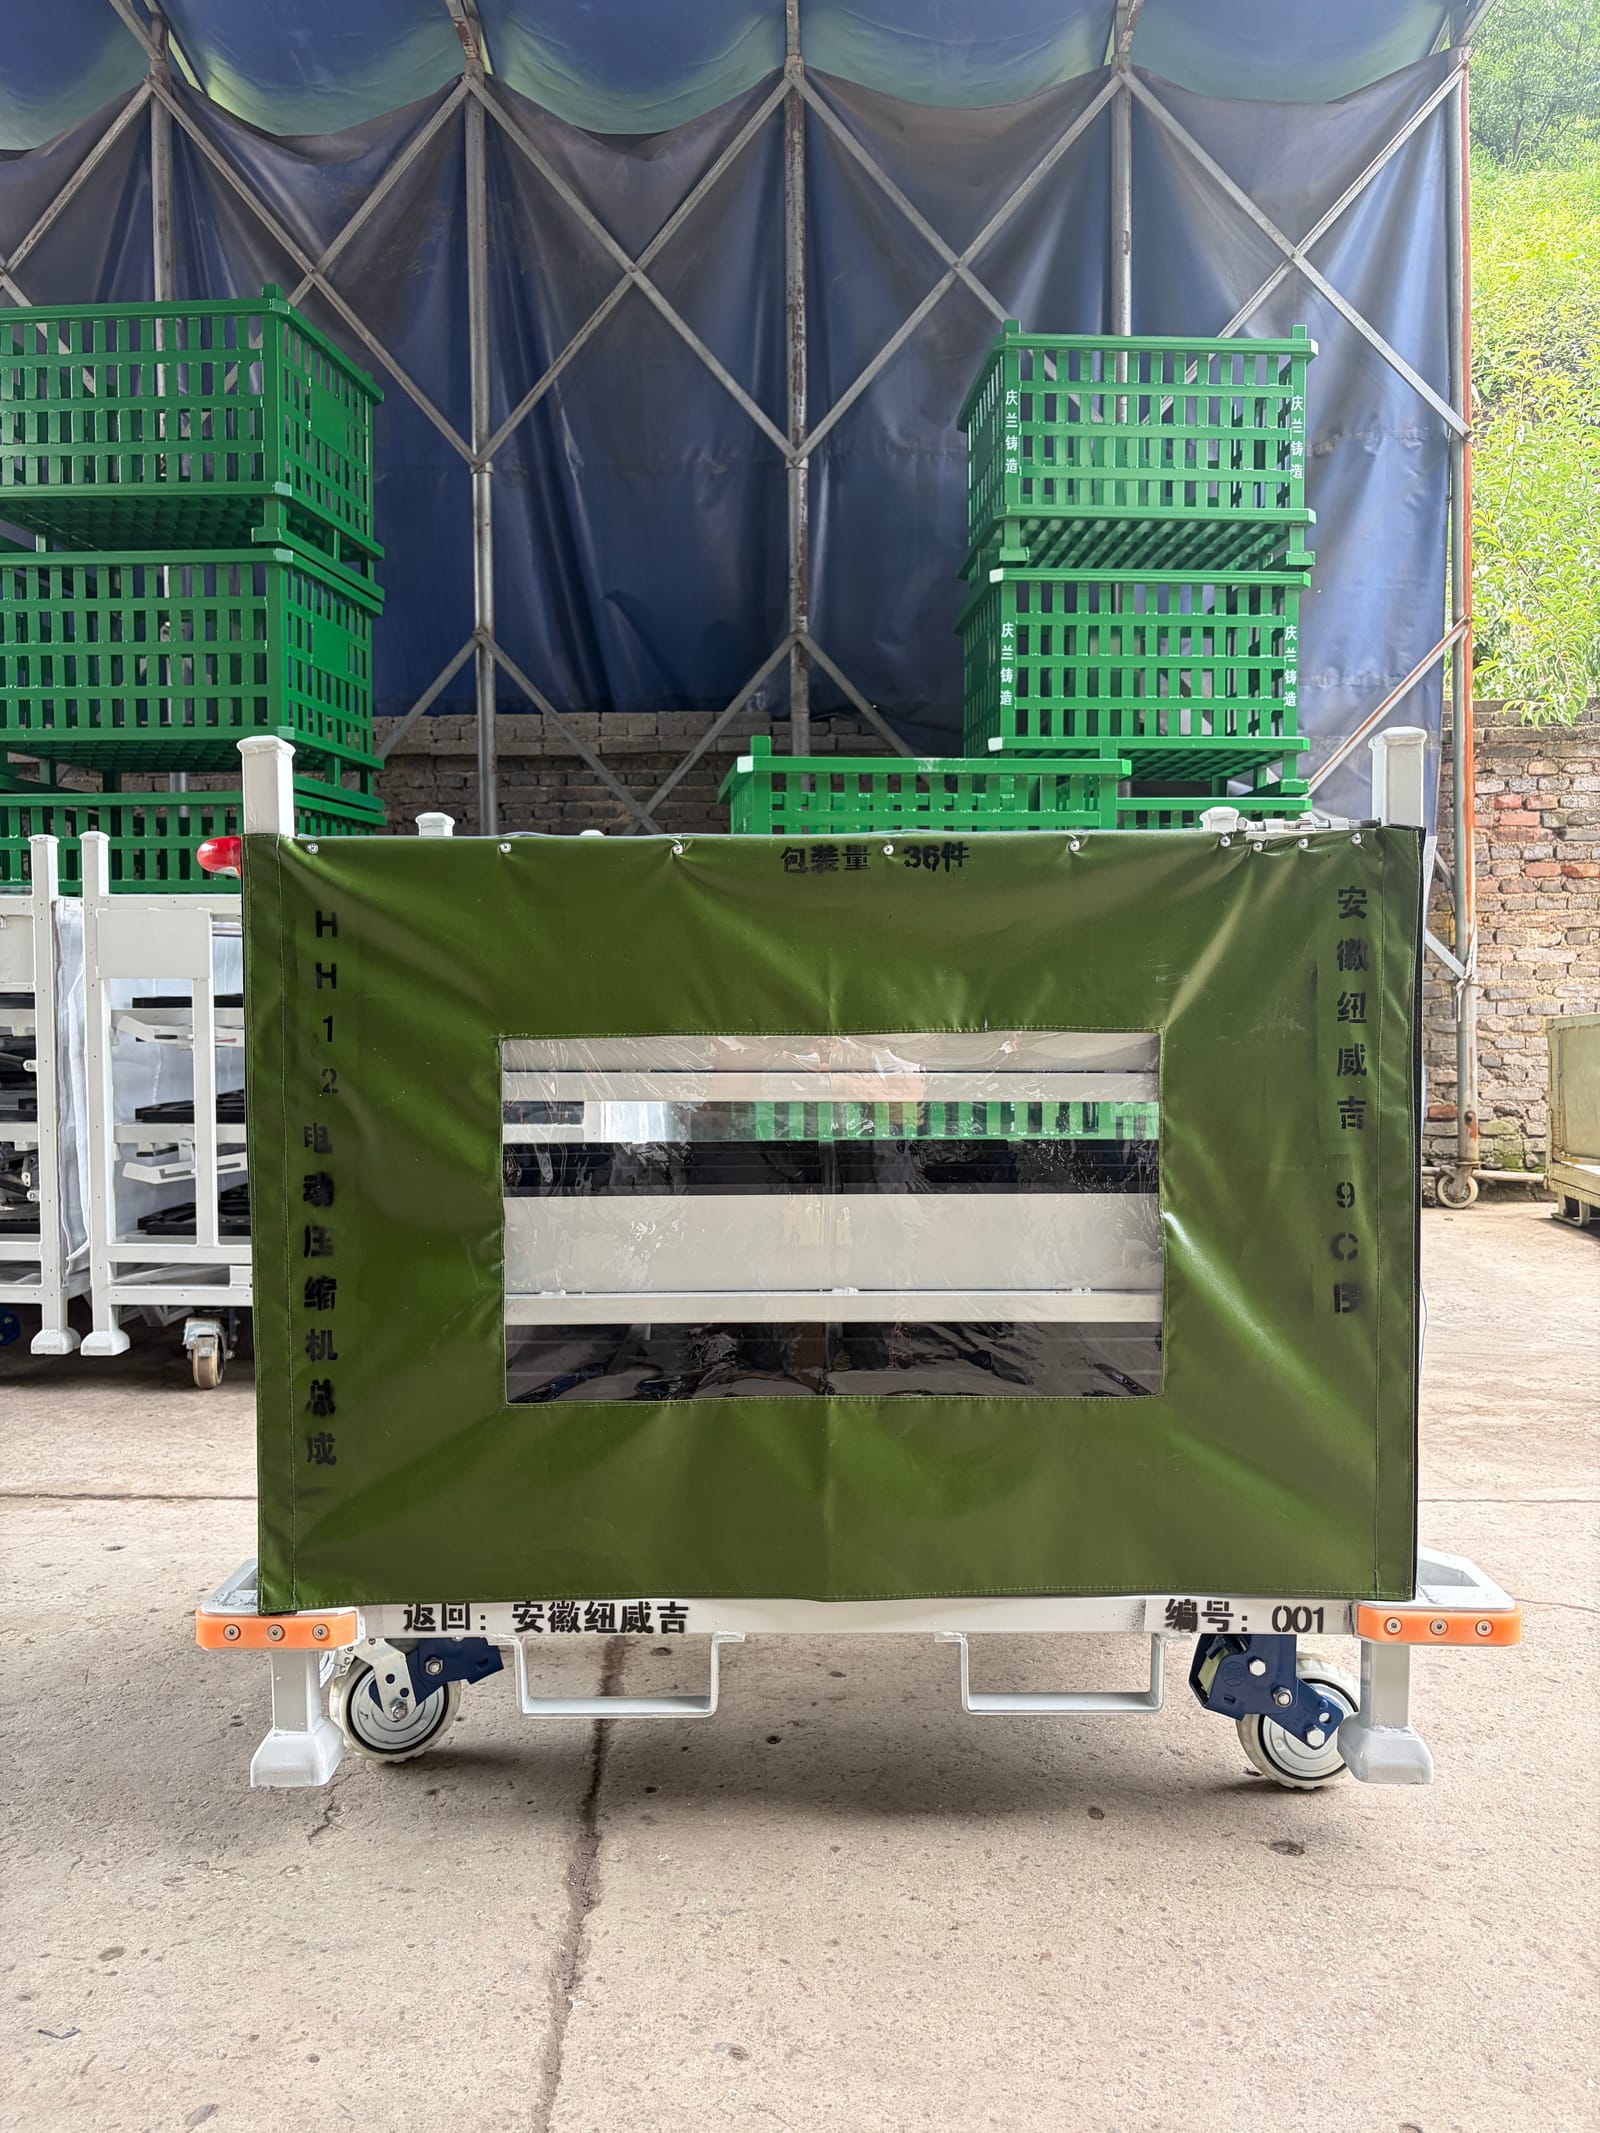
Consider a machine housing delivered on a reusable steel pallet. Its mounting feet sit neatly on the deck, but the proposed band runs directly beneath one foot. Moving the band sideways appears easy until it meets a cross-member; moving the tool to the rear puts it against a wall at the packing station. These are layout problems to resolve before fabrication, rather than reasons to add more loose packing material at dispatch.
Draw the packing sequence from first placement to receipt. Mark where the operator stands, whether the pallet is on a bench or floor, which sides are accessible, and whether the same access exists at the customer's receiving point. Include any protective boards or cover already fitted when the band is applied. The arrangement should work with those items in position, without asking someone to lift a loaded pallet merely to recover a hidden strap end.
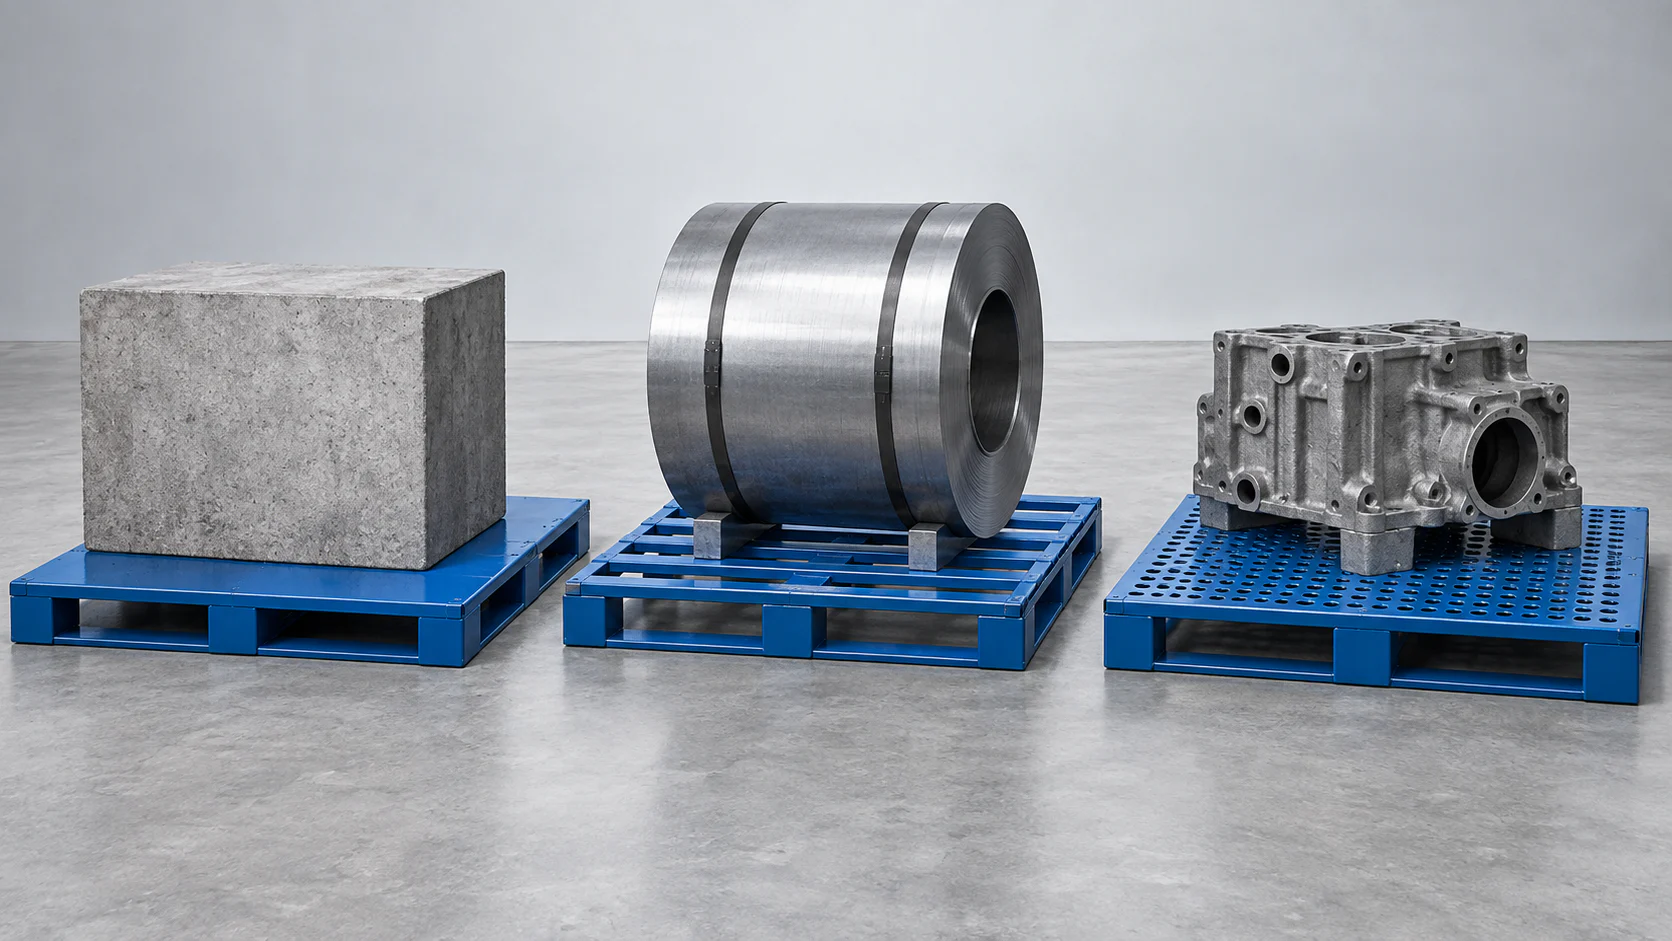
Nichols' steel pallet example shows that built-in strapping channels are an available product approach. For a custom welded pallet, the useful next question is where those channels belong relative to your cargo and handling route. Their product specification does not define the geometry for another pallet.
Compare steel pallet strapping channels with an open route
| Arrangement | Useful starting condition | Trade-off to resolve | Drawing input |
|---|---|---|---|
| Dedicated recessed channel | The deck is substantially closed and the band needs a repeatable feed line. | Channel position, smooth contact, cleanout and the deck structure must work together. | Band line, smallest cargo foot and proposed feed direction. |
| Engineered gap between members | An open deck already has suitable structural support on both sides of a band line. | The gap must remain accessible after loading and not take away required cargo support. | Load contact map and deck-member layout. |
| Pre-positioned band with retained feed ends | The loaded underside will be difficult to reach. | The band must stay in the intended position during loading and be recoverable without being trapped. | Loading sequence, band retention and retrieval points. |
Closed deck; repeatable feed. Resolve contacts and deck structure.
Support members leave access. Resolve loaded feed and snag points.
Underside access disappears. Resolve retention during loading.
A channel can make feeding more repeatable, but it also becomes a detail to keep usable. Avoid a blind route that collects fragments or cannot be inspected. An open gap may be simpler when the cargo rests on defined rails, provided the gap does not move a contact onto an unsupported edge. Select the simplest route that survives the complete task, not the one with the most slots.
Overlay cargo feet, band contact and the bottom frame
Use a cargo bottom view to mark every foot, skid, pad and prohibited contact area. Add the proposed band lines and any corner protection. A strap can pull against a different part of the package from the surface carrying its weight, so keep those functions visible on the drawing. Do not route a band over a connector, finished face or unsupported cover just because that is the shortest path.
Next add the pallet members beneath the deck. Ask the pallet engineer to coordinate the channel with the structure rather than cutting through a member after the design is complete. Review the steel pallet deck selection guide when the main question is continuous sheet versus open profiles. Here, the deck is an input to the band route, not a new material-selection exercise.
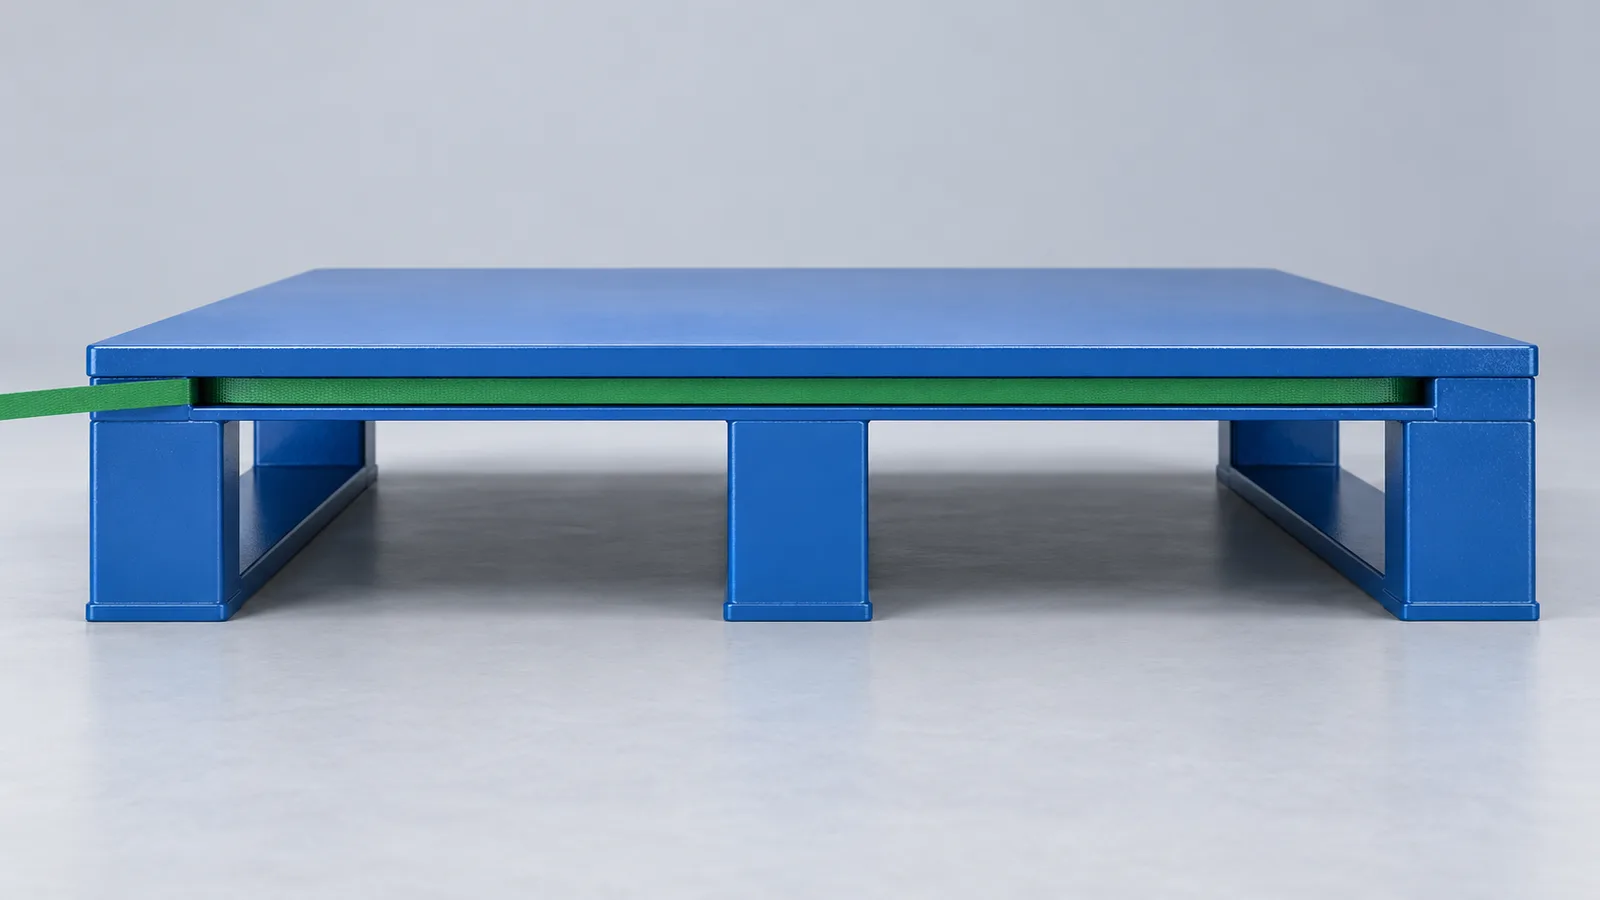
Reserve space for the complete tensioning tool
Identify the equipment used to tension and join the band before fixing its final accessible segment. A hand tensioner, separate sealer and battery combination tool have different bodies and operating movements. Provide the selected equipment drawing or manual, the intended band system and where the tool will be supported. Include the operator's grip and the direction of removal after the joint is made.
Signode's BXT equipment page provides model-specific tool dimensions and application information. Use the equivalent information for your chosen equipment. A tool that can touch the band may still be unable to sit flat, accept the overlap or leave after tensioning. Avoid locating its working position where a raised rim or the cargo's side prevents that final movement.
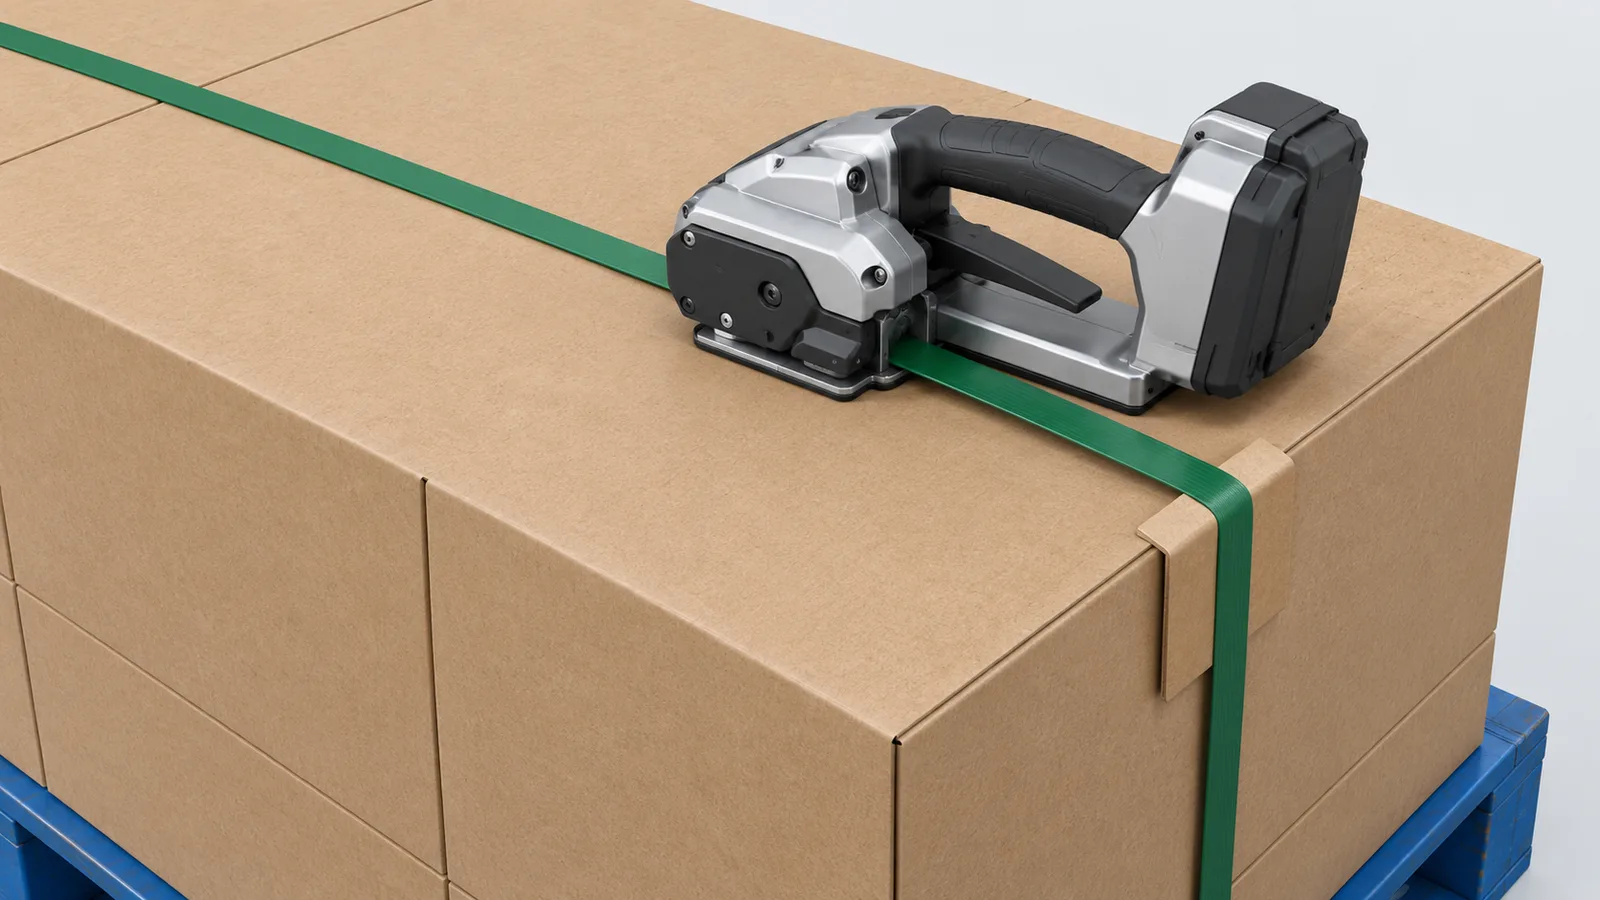
Keep the finished band out of the handling spaces
Check the band in its tensioned position against fork insertion, pallet-truck wheel travel and every receiving support. Avoid making a working fork pocket the feed passage: a band can be exposed to repeated contact when the forks enter. At set-down, a band beneath a runner or foot may be pressed against the floor or rack beam. Show the actual landing surfaces in the same view.
The forklift and transfer guide covers those equipment interfaces in detail. Keep the band-routing review narrow: it should identify where the route conflicts with an already defined interface, then return the conflict to the pallet drawing. It should not assume a general fork opening establishes clearance for every device.
A guiding slot is not automatically an anchor. Distinguish a band wrapped around the unit from a strap attached to a designed restraint feature. The required restraint system and its validation should be selected with the relevant specialists; the existence of a hole does not establish a permissible securing force.
Plan receipt and band removal before dispatch
Ask the receiving team how the load is supported when the band is removed, where cutting occurs and how loose band is collected. Keep the release task accessible without reaching under a suspended load. If the pallet is reused, include the inspection and clearing of its feed path before the next packing cycle. A channel that works once but becomes blocked by fragments is a poor fit for repeated use.
DHL's July 2026 heavy-shipment guide discusses palletized load securing and edge protection. Use carrier guidance for the actual shipping service, while keeping your pallet's feed and tool layout explicit. For container-level blocking, bracing and dispatch inputs, use the separate steel pallet export packing guide.
- Can you feed the band after loading?Yes: Keep an accessible dedicated route. No: Compare retained pre-positioned bands.
- Trial the full taskTrial feed, tension, handling, set-down and removal.
- Does the trial reveal an obstruction?Yes: revise the route or arrangement and repeat. No: include the accepted detail in the quotation drawing.
Five steps before approving the pallet layout
- Overlay the load and support contacts: Mark cargo feet, permitted band contact, deck members and every floor, beam or equipment support on the loaded pallet drawing.
- Trace feeding with the load seated: Show a continuous band route and the access used to feed or recover it after the cargo reaches its final position.
- Reserve the tool position: Place the actual tensioner and joining tool, band overlap, operator approach and release movement on the same layout.
- Check every handoff and removal: Keep the finished band clear of forks, pallet-truck wheels and receiving supports; include controlled cutting and band collection at receipt.
- Trial the proposed packing cycle: With representative cargo and the selected equipment, load, feed, tension, join, move, deposit and remove the band before approving the configuration.
Start a custom steel pallet quotation
Send a cargo photo and tell HAOFU how it is packed, picked up and received. For a detailed proposal, add the underside contact map, loaded mass and centre-of-gravity information, allowed band contacts, deck/base layout, selected band and tool documents, working side, transfer surfaces, pallet quantity and destination. Identify what is already fixed and which layout choices you want compared.
HAOFU develops custom steel pallets from the load and handling process. Ask the steel pallet manufacturer to include the band route and tool position in the quotation layout, so the packing task is considered alongside the welded structure. Send a photo for a custom pallet quote; drawings and additional engineering details can follow.
Frequently Asked Questions
- Where should strapping channels go on a steel pallet?
- Place them on the intended band lines after overlaying the cargo feet, deck members, base supports and fork-entry spaces. Keep a continuous feed route available with the load already seated, and provide a reachable straight section for the chosen tensioning and joining tool.
- Can the band pass through a forklift pocket?
- Avoid making a working fork pocket the band route. Fork insertion can catch or press against the band, and the pocket may be inaccessible once the pallet is deposited. Ask the pallet supplier to separate the band path from the handling envelope on the drawing.
- Does a strapping slot make a rated tie-down point?
- No. A slot that guides a band is not automatically a load-rated anchor. Show whether the band wraps around the cargo and pallet or attaches to a separate restraint feature, then agree the necessary design and validation with the pallet and restraint specialists.
- How much room does a pallet strapping tool need?
- Use the actual tool's body, grip, insertion, joining and release movements. Include the required band overlap and the direction the tool leaves after tensioning. A visible strip of band is insufficient if the tool cannot sit flat or the operator cannot remove it.
- Should bands be installed before or after loading?
- Compare both sequences. Pre-positioning may help when the underside becomes inaccessible, but bands must stay located and undamaged during loading. Feeding after loading needs a clear channel in the seated condition. Choose the sequence that can be repeated at both dispatch and receipt.
- What can I send to start a custom steel pallet enquiry?
- Start with a cargo photo or sketch and a short description of how it is secured and moved. For the detailed layout, add the underside contacts, proposed band route, chosen tool information, handling interfaces, quantity and destination. Engineering files can follow after first contact.